Last updated November 18, 2026








Free written scope consultation - allowances, timeline, and change-order rules on paper before a single trade is scheduled
Bathroom Remodeling Troubleshooting: Common Problems and How to Fix Them
A hairline crack where your tub meets the tile wall isn’t a cosmetic issue. It’s the first sign that the caulk joint wasn’t tooled properly, and water is already working its way toward your subfloor. In our experience across North Las Vegas, the problems that cost homeowners the most money rarely announce themselves during the remodel. They show up 6 to 18 months later, when the warranty conversation gets harder and the damage is already spreading behind the tile. This guide teaches you to read those symptoms – a slow drain, a rocking toilet, paint flaking above the shower – and know whether you’re looking at a materials failure, an installation error, or ordinary wear. That distinction is what gets a defect fixed instead of paid for twice.
Quick Answer
Most post-remodel bathroom problems fall into three buckets: workmanship defects (grout cracking, caulk separation, improper waterproofing), material or fixture failures (running toilets, failed cartridges), and normal maintenance (recaulking, drain cleaning). A defect tied to installation is usually the contractor’s responsibility to correct, while wear and water chemistry issues are yours. The key is documenting what you see, when it started, and what was installed – that record is what makes a warranty claim stick.
Styles & brands we work with
- Kitchen remodeling
- Bathroom remodeling
- Home additions & ADU
- Roofing
- Windows & doors
- Driveway & pavers
- Fence
Table of Contents
- The Five Most Common Post-Remodel Failures and Their Root Causes
- Why Is My Grout Cracking After the Remodel?
- Caulk Separation at the Tub and Floor Seam
- Slow Drains and Running Toilets: Fixture or Plumbing?
- Paint Peeling Near the Shower
- What Improper Waterproofing Looks Like From the Outside
- Workmanship Defect or Normal Maintenance?
- The Documentation That Makes Troubleshooting Possible
- Plumber, Contractor, or DIY: Who to Call
The Five Most Common Post-Remodel Failures and Their Root Causes
After enough bathroom remodels, the same five problems show up again and again. Here’s what each one actually means.
- Grout cracking – usually movement, not bad grout. Either the subfloor flexes underfoot or the tile wasn’t given proper expansion joints at the perimeter.
- Caulk separation – the joint was too wide, the surface wasn’t dry, or standard caulk was used where a flexible silicone was needed.
- Slow drains – often construction debris, hair, or a trap that wasn’t cleared after the tile work. Sometimes it’s a slope issue in a new shower pan.
- Running toilets – almost always a flapper, fill valve, or seal, not a plumbing defect. Cheap internals fail first.
- Paint peeling near the shower – moisture where it shouldn’t be, either from poor ventilation or a shower that isn’t sealed properly.
The value of naming the root cause is that it tells you who owns the fix. A grout crack from subfloor flex is a workmanship issue. A running toilet from a worn flapper is maintenance. Same symptom, very different conversation. In North Las Vegas, the dry climate actually hides some of these problems longer than in humid markets, then reveals them suddenly when monsoon-season humidity spikes in July and August.
Why Is My Grout Cracking After the Remodel?
Grout cracks because something beneath it is moving. The grout itself is rarely the culprit. When you see cracks along a line of tile, especially at floor transitions or where the wall meets the floor, the likely causes are:
- Subfloor flex. If the floor deflects underfoot, the tile and grout above it flex too. On older North Las Vegas homes with 2×8 joists at wide spacing, this is common.
- Missing expansion joints. Tile needs a gap at the perimeter, filled with flexible sealant rather than grout. Grout in that gap will crack first.
- Improper thinset coverage. Voids under tile create stress points that show up as cracks months later.
- Curing or house settling. New construction and older homes alike shift, and a hairline crack that appears once and doesn’t grow is often just settling.
How to tell the difference: a single hairline crack that appears in the first year and stays put is usually settling. Cracks that reappear after a repair, spread, or show up in a pattern are a deflection or installation problem. That’s when you call the contractor back, because properly installed tile shouldn’t keep cracking. If you’re planning a North Las Vegas bathroom remodel and want the floor done right the first time, our Bathroom Remodeling in North Las Vegas team handles subfloor prep as a core step, not an afterthought.
Caulk Separation at the Tub and Floor Seam
Caulk pulling away from the tub or tile is one of the most common – and most misread – post-remodel complaints. It’s usually a sign of one of three things:
- Moisture during application. Caulk won’t bond to a damp surface. If the joint was caulked before the tub surround fully dried, it fails from the inside out.
- Wrong product. Standard acrylic caulk shrinks and cracks in wet areas. A flexible, mold-resistant silicone is what a tub-to-tile joint actually needs.
- Joint movement. Tubs flex when you step in. Rigid caulk can’t handle that movement, so it separates.
Here’s where it gets serious. A failed caulk joint behind a tub isn’t just ugly – it lets water into the framing and subfloor with every shower. On a slab-on-grade home in North Las Vegas, that water has nowhere to go but sideways, which is why we see soft drywall and musty smells show up well before any visible water damage. If the caulk is separating within the first year, bring it back to the contractor. If it’s a few years old and just worn, recaulking is a normal maintenance item you can do yourself with a tube of silicone and a smoothing tool.
How to tell a defective caulk joint from normal wear
A defective joint typically fails along the whole length at once, within the first 12 months, or shows water staining behind it. Normal wear is localized, appears after a couple of years, and looks like thin cracks or mildew rather than a clean separation.
Slow Drains and Running Toilets: Fixture or Plumbing?
A slow shower drain after a remodel is almost never the drain pipe – it’s usually debris or a fixture issue. During tile work, thinset, grout, and hair find their way into the drain. A plumber can clear it in one visit, and if you catch it in the first month, the contractor should handle it as part of the closeout punch list.
Running toilets are the other frequent complaint, and they’re almost always about the internals:
- Flapper – the rubber seal at the bottom of the tank wears out and lets water trickle through. Replace it, and the running stops.
- Fill valve – the float can stick or the seal can fail, keeping water running.
- Chain or flapper alignment – a chain that’s too long gets caught, or the flapper doesn’t seat cleanly.
A new toilet that runs within weeks points to a defective or misinstalled fill valve, which is a warranty item. One that starts running after a year or two is normal wear and a five-dollar flapper. Cheaper fixtures fail faster – which is why we stock well-regarded brands like Kohler and Toto on remodels, so the internals hold up. If you’re comparing full-room costs, our guide to Kitchen Remodeling in North Las Vegas lays out the same logic on fixture quality, since the two rooms share the same supply chain of sinks, drains, and valves.
Paint Peeling Near the Shower
Paint peeling or bubbling above a shower is a ventilation problem more often than a paint problem. Bathrooms generate a lot of moisture, and if the exhaust fan isn’t moving enough air – or isn’t used consistently – that moisture condenses on the walls and ceiling and gets under the paint film.
- Check the fan. A fan rated below 80 CFM in a typical bathroom won’t keep up. Listen to it: if it’s quiet and the mirror never clears, it’s undersized.
- Check run time. Fans need to run 15-20 minutes after a shower, not just during. A timer switch solves this.
- Check the ceiling finish. Bathroom paint should be a moisture-resistant formula rated for wet rooms, not standard flat wall paint.
If the peel shows up within months of a remodel in a bathroom that previously had no issues, the fan may have been swapped for a quieter but weaker unit or the exhaust duct may be disconnected in the attic. That’s a workmanship issue to bring back to the contractor. If peeling appears years later in a bathroom with a small, older fan, upgrade the fan and repaint with the right product. North Las Vegas’s dry climate slows this problem during most of the year but doesn’t prevent it – shower moisture is generated locally, regardless of what the outdoor humidity is doing.
What Improper Waterproofing Looks Like From the Outside
You can often spot a waterproofing failure before you tear anything apart. Waterproofing is the membrane behind tile, particularly in a shower, that keeps water out of the wall cavity. When it’s done wrong – or skipped – you’ll usually see one or more of these:
- Grout that stays dark and wet long after the shower was used, especially at the bottom of the walls.
- Efflorescence – the white, powdery salt deposit that appears on tile or grout as water moves through the assembly.
- Soft or popping tile underfoot in the shower pan.
- Water staining or soft drywall on the room’s opposite side – the wall behind a shower is often shared with a bedroom or closet.
- Musty odor that doesn’t clear with cleaning.
A properly waterproofed shower, using a product like Schluter Kerdi or a liquid-applied membrane applied to manufacturer spec, sends water to the drain rather than into the framing. It also requires a pre-slope under the pan, which is where a lot of shortcuts happen. If you’re seeing any of the signs above within the first couple of years of a remodel, don’t wait. Call the contractor back and ask for documentation of the waterproofing method used. This is the single most expensive failure in any bathroom, and in our experience it’s the one North Las Vegas homeowners most often live with until the subfloor gives out.
Workmanship Defect or Normal Maintenance?
This is the question that determines whether the fix is covered or paid out of pocket, so it’s worth getting it right. Use this rule of thumb:
- Timing. Failures in the first 12 months are usually workmanship. Failures after 3 years are usually wear.
- Pattern. A defect that spreads across the whole joint or wall is installation. A small, localized issue is often wear.
- Cause. If water is getting somewhere it shouldn’t – behind tile, under a tub, into a wall – you’re looking at a waterproofing or sealing defect, not maintenance.
- Recurrence. If the same issue returns after a fix, the underlying cause wasn’t addressed. That’s a workmanship problem.
Anything tied to waterproofing, structural movement, or improper sealing should go back to the contractor under the workmanship warranty. Caulking, grout touch-up after several years, flappers, and fan upgrades are maintenance – those are yours to handle. Our team stands behind the work with the 365-Day Done Right Promise, which means if a defect shows up in that first year, we make it right, backed in writing. If you’re working with a different contractor, check what your contract says about a post-completion inspection window before you ever need it.
The Documentation That Makes Troubleshooting Possible
Troubleshooting a problem six months after the job is only possible if you can tell what was installed and how. Keep this paperwork together from day one:
- Photos of the process – especially the waterproofing, the tub surround, and the plumbing rough-in, taken before tile went up. If your contractor sends photo updates, save them.
- Product specs and receipts – caulk, grout, membrane, and fixture model numbers. You’ll want the exact grout to match a touch-up, and the model number for a warranty claim.
- Permits and inspection records – in North Las Vegas, plumbing and electrical work in a remodel requires permits and passed inspections, and those records confirm the work was done to code.
- The written contract and warranty terms – the line-item scope, the workmanship warranty, and the fixture warranties, plus the contractor’s contact info.
- A maintenance log – the date you noticed the problem and what it looked like. This turns “it’s been leaking for a while” into a specific timeline.
The Relay Visibility Guarantee from our team exists for exactly this – a written price, photo updates before and after, and a live arrival time – so the record is already built into the job. Whether you use us or another contractor, ask for that documentation in writing before the first tile goes down.
Plumber, Contractor, or DIY: Who to Call
Save yourself the callback loop by matching the problem to the right trade:
- Call a plumber for a slow drain you’ve already tried to clear, a leaking supply line, a toilet that won’t stop running after a flapper swap, or any leak you can’t trace to a specific fixture.
- Call your remodeling contractor for grout cracks that spread or recur, caulk separation within the first year, water stains or efflorescence near a shower, soft tile, or anything that looks like a waterproofing or installation problem.
- Handle it yourself for recaulking an older joint, replacing a toilet flapper or fill valve, cleaning a shower drain with a hair catcher or enzyme cleaner, or repainting with a moisture-resistant product.
The gray area is anywhere water is involved and the source isn’t obvious. In that case, call the contractor first – they know what they installed and can tell you if it’s covered. If you want a second set of eyes on a North Las Vegas remodel before or after the fact, our General Contractor in North Las Vegas team can assess the waterproofing and installation and lay out the fix in plain terms.
Common Mistakes to Avoid
- Caulking over a failed joint instead of fixing the cause. A fresh bead over wet framing traps the moisture and makes the eventual repair bigger. Dry it out and find the source first.
- Assuming every crack is a defect. Hairline settling cracks in the first year are normal. The mistake is failing to document them in case they spread.
- Skipping the fan upgrade on a North Las Vegas remodel. Our dry air makes it easy to under-spec ventilation, but shower moisture is a local problem regardless of outdoor humidity. A cheap fan is a false economy.
- Throwing away the product specs. Without the exact grout color and fixture model, matching a repair becomes guesswork.
- Waiting past the warranty window. A defect in month two is easy to resolve. Reporting it in month fourteen is a much harder conversation.
- Using standard wall paint in a wet room. It will peel near the shower no matter how well it was primed. Use a moisture-resistant formula rated for bathrooms.
- Assuming a slow drain is the contractor’s problem months later. Construction debris is the contractor’s responsibility at closeout; a year of hair is maintenance.
See the difference
 Before
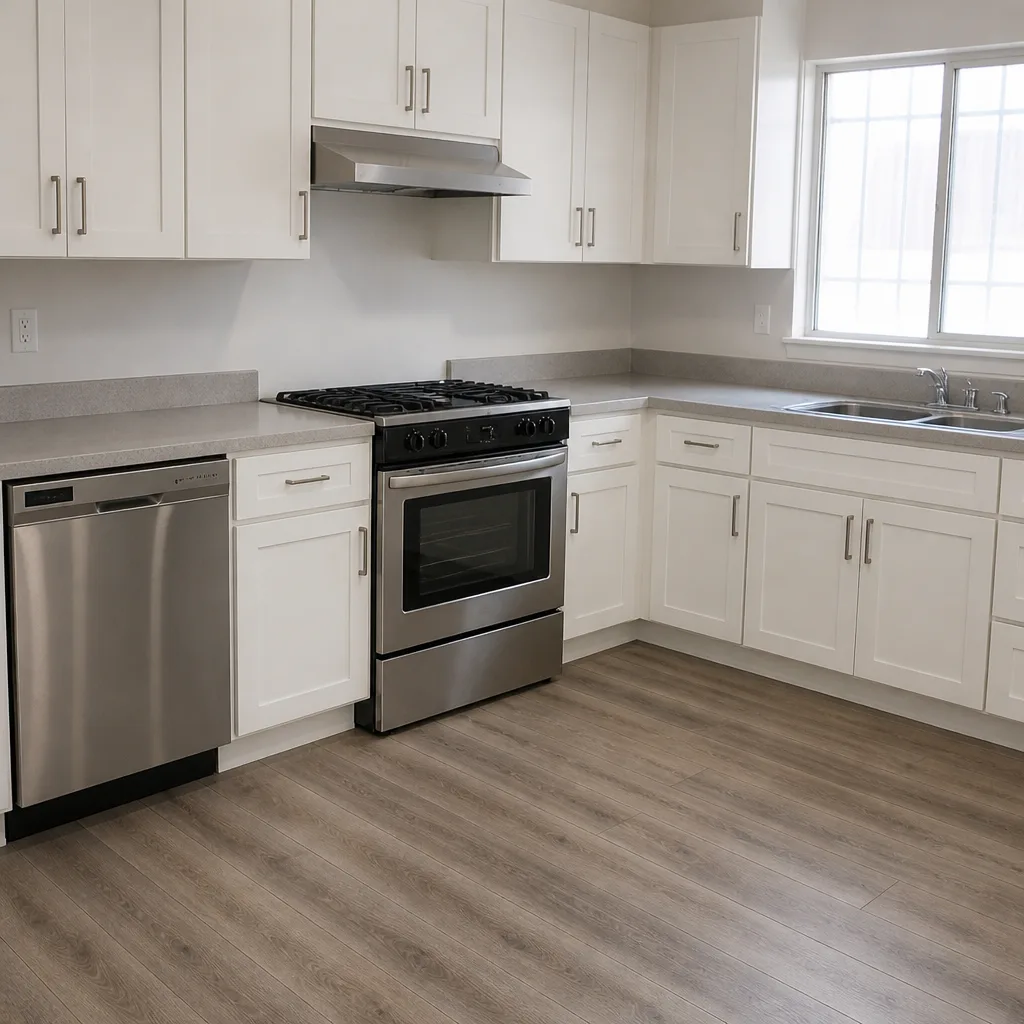 After
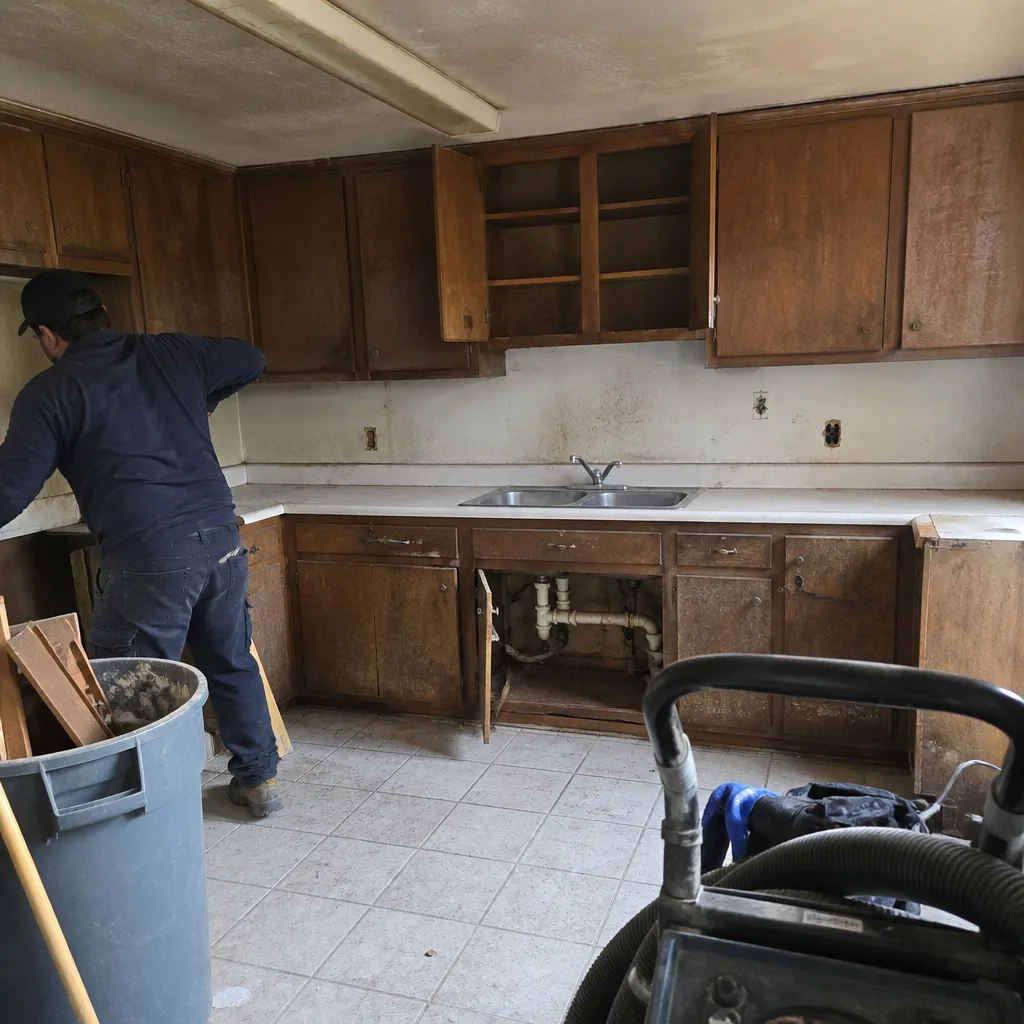 Before
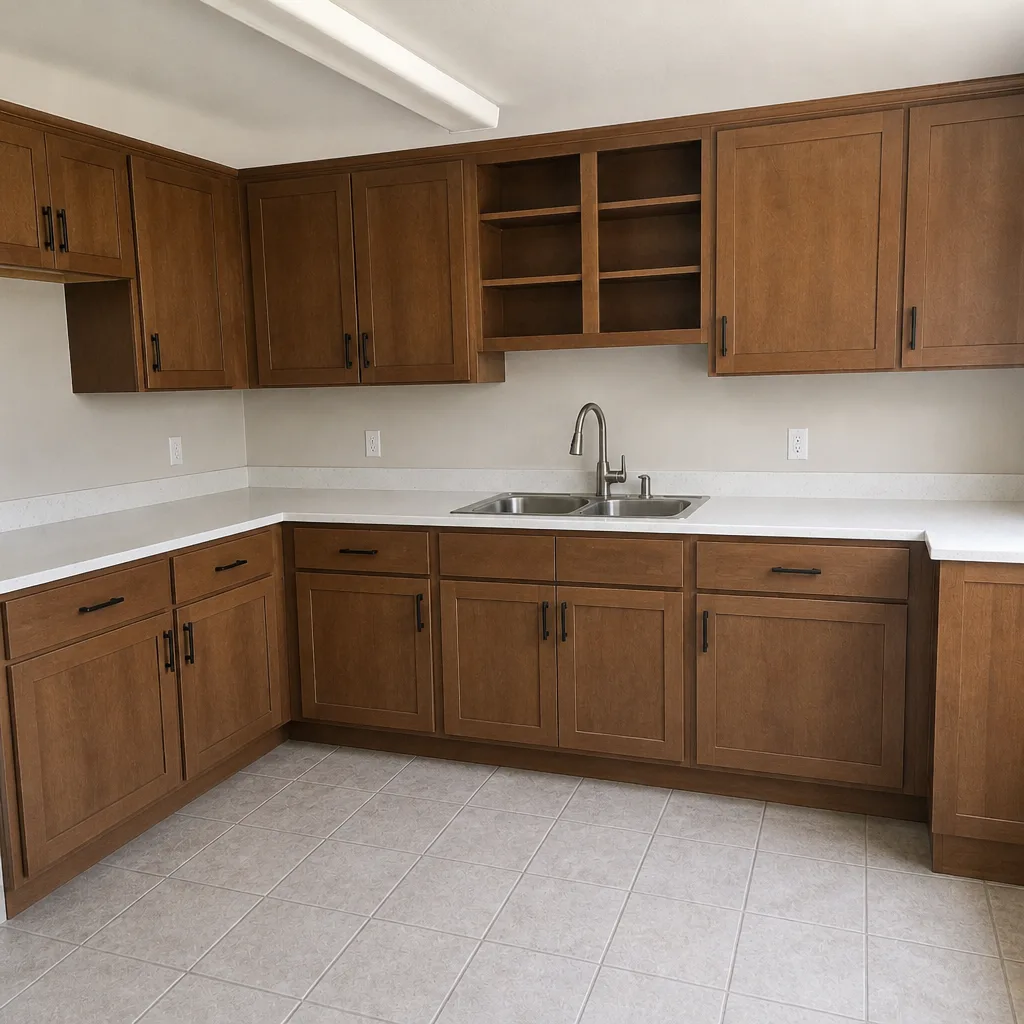 After
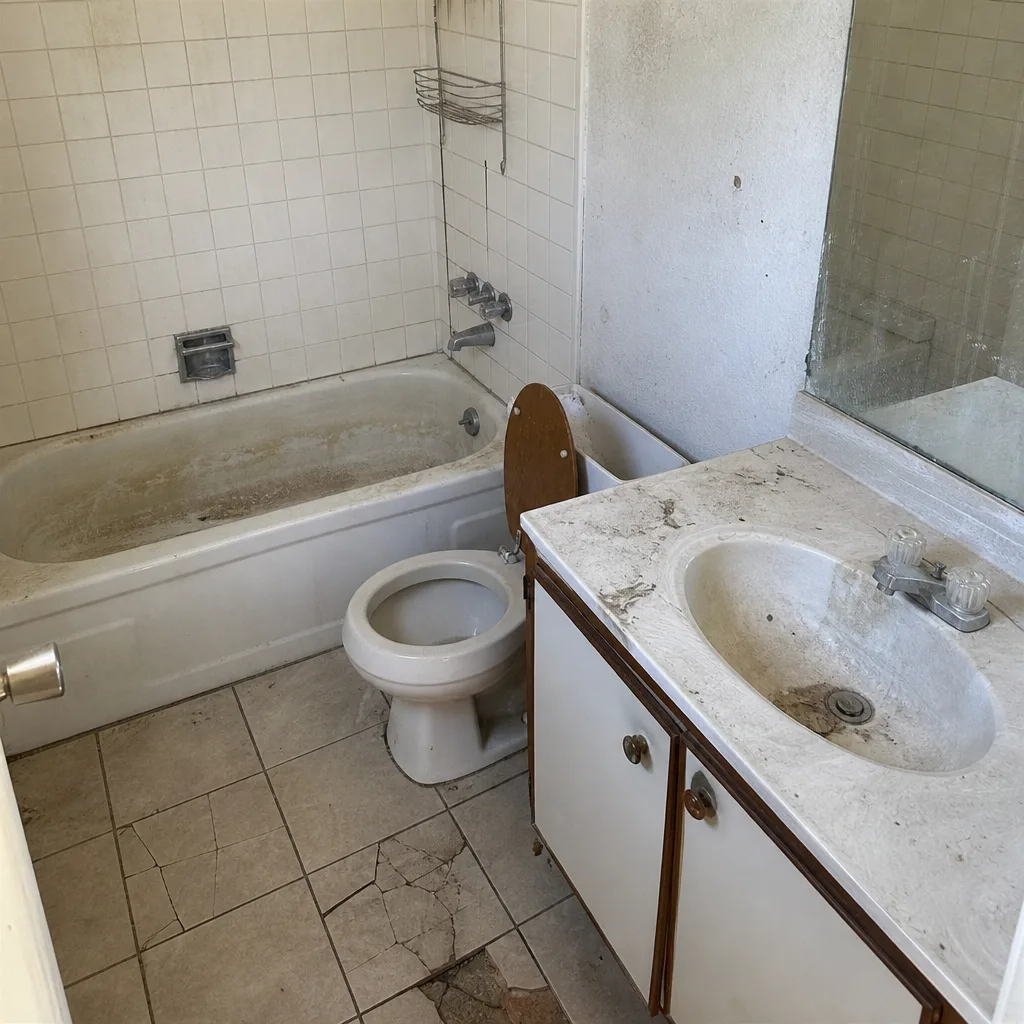 Before
 After
When to Call a Professional
Call a professional when water is going somewhere it shouldn’t and you can’t trace it, when grout cracks keep returning after a repair, when you see efflorescence, soft tile, or water staining on the far side of a shower wall, or when a fixture problem persists after a simple part swap. Those are the cases where waiting turns a small fix into a subfloor replacement. Small maintenance items – recaulking, a flapper, a drain cleanout, a repaint – are fine to handle yourself. If you’re unsure which category you’re in, the safe call is to have someone look. Sawyer Remodel North Las Vegas offers free estimates in North Las Vegas – call (844) 834-9656 and a real person will pick up, day or night, with a live arrival window once you book.
Frequently Asked Questions
Most workmanship defects show up within the first 12 months, and many appear in the first 90 days as the joint moves and the system settles. If a problem like caulk separation, grout cracking, or water staining appears in that window, contact the contractor before doing any repair yourself, because a DIY fix can void the warranty. Call (844) 834-9656 for an exact quote on a repair or a second opinion – estimates are free.
No. A single hairline crack that appears once in the first year and doesn’t grow is usually normal settling. Cracks that recur, spread across the floor, or appear at wall-to-floor transitions point to subfloor movement or missing expansion joints, which are workmanship issues. The pattern matters more than the crack itself.
You usually can’t tell from the finished tile, but you can look for signs: grout that stays dark and wet, white efflorescence, soft or popping tile in the pan, or water staining on the opposite side of the wall. In North Las Vegas, that opposite wall is often a bedroom or closet, so check it. If any of those signs are present in the first couple of years, ask the contractor for documentation of the membrane and pre-slope application.
Peeling paint above a shower is almost always a ventilation problem, not a paint failure. A fan below roughly 80 CFM, a disconnected exhaust duct in the attic, or a fan that only runs during the shower lets moisture condense on the wall and lift the paint. Fix the ventilation, then repaint with a moisture-resistant bathroom formula.
If the slow drain appears within the first month after a remodel, call the remodeling contractor – it’s likely construction debris and part of the closeout. If it develops months or years later, it’s usually hair and soap buildup, and a plumber or a drain cleaner is the right call. Either way, don’t ignore a drain that runs slow in a new shower, because it can indicate a slope issue in the pan.
Keep photos of the waterproofing and rough-in before tile went up, the product specs for grout, caulk, membrane, and fixtures, your permits and inspection records, and the written contract with the workmanship warranty. In North Las Vegas, plumbing and electrical work requires passed inspections, and those records confirm the work was done to code. That documentation is what makes a future warranty claim straightforward.
The Bottom Line
Most bathroom remodel problems are readable months before they become expensive. Grout cracking, caulk separation, slow drains, running toilets, and peeling paint each point to a specific cause – movement, moisture, debris, or wear – and knowing which one you’re looking at tells you whether to call the contractor or fix it yourself. Document the job from the start, keep the product specs, and watch the first 12 months carefully. A written price, photo updates, and a real warranty make that whole process easier. If you want a bathroom done right in North Las Vegas so the troubleshooting list stays short, our team is one call away – reach our Sawyer Remodel North Las Vegas home page or ring us directly for a free estimate.
Whether you’re planning a full remodel or diagnosing a problem in a room that’s already finished, we’ll give you a written price before any work starts, keep you updated with photos before and after, and back the work with the 365-Day Done Right Promise. Our technicians have up to 21 years of experience, and every job runs on The Relay Visibility Guarantee – a live arrival time, a written price, and a digital invoice you pay from a link.
Call (844) 834-9656 to schedule your free estimate with Sawyer Remodel North Las Vegas. A live person answers, day or night.
Written by the team at Sawyer Remodel North Las Vegas.