Last updated November 18, 2026








Free written scope consultation - allowances, timeline, and change-order rules on paper before a single trade is scheduled
Bathroom Remodeling Maintenance Schedule: What to Do and When
Here’s the thing nobody tells you when the tile goes in: silicone caulk around a tub or shower needs its first real inspection at 90 days, not one year. By the twelve-month mark, a hairline gap has already been feeding water into the wall cavity for months, quietly, behind fresh grout that still looks perfect. A remodeled bathroom isn’t maintenance-free. It’s maintenance-delayed. In our experience across North Las Vegas, the failures we get called back to fix almost always trace to one of two windows: the first 90 days after the project closes, or the 12-month mark. This guide gives you the actual schedule for both, plus the Vegas-specific adjustments that keep hard water and a clogged exhaust fan from undoing good work.
Quick Answer
Inspect and touch up caulk at 90 days, reseal shower and floor grout between months 6 and 9, and check under-sink supply and drain connections at 30 days, 90 days, and again at the one-year mark. Run your exhaust fan during every shower and clean its grille monthly, because North Las Vegas’s mineral-heavy water and dry air stress a bathroom faster than most climates. Photograph the whole room at 30, 90, and 365 days so you have a documented baseline if anything ever needs a warranty claim.
Styles & brands we work with
- Kitchen remodeling
- Bathroom remodeling
- Home additions & ADU
- Roofing
- Windows & doors
- Driveway & pavers
- Fence
Table of Contents
- The First 30 Days: What to Watch
- The 90-Day Check: Where Most Failures Start
- When and How to Reseal Grout
- Managing Hard Water in North Las Vegas
- Exhaust Fan Maintenance You’re Probably Skipping
- Documenting Condition Annually
- The Month-by-Month Checklist for Year One
- Common Mistakes to Avoid
The First 30 Days: What to Watch
The first month is about catching installation issues while they’re still the contractor’s responsibility. New plumbing connections settle, new caulk cures, and new fixtures get their first real workout. Walk the room with a flashlight at day 30 and look for what you can’t see from standing height.
- Check under every sink. Run the faucet hot and cold for a full minute, then dry the supply lines and P-trap with a paper towel and check again for moisture. A slow weep at a compression fitting shows up now, not later.
- Look at the base of the toilet. Any rocking or a soft spot at the floor flange means the wax ring or seal needs attention before it stains the ceiling below.
- Test the exhaust fan with a tissue. Hold a single-ply tissue against the grille while it runs. If it doesn’t stick, airflow is weak and the fan or duct needs a look.
- Check caulk lines for separation. A thin crack where the tub meets the floor tile at 30 days usually means the tub shifted slightly after fill. Note it, don’t panic, and get it on the punch list.
- Photograph everything. Wide shots of each wall, close-ups of every caulk joint, the under-sink plumbing, and the fan grille.
If you had your bathroom remodeling done in North Las Vegas through a contractor, day 30 is the right time to raise anything on this list. Small issues handled inside the first month rarely turn into the kind of repair that costs real money. This is exactly where The Relay Visibility Guarantee earns its keep: photo updates before and after mean you already have a record of how the room looked the day work wrapped.
The 90-Day Check: Where Most Failures Start
Ninety days is the most important date on this entire schedule, and almost no contractor sends a reminder. Caulk has fully cured, seasonal temperature swings have moved the framing slightly, and the shower has seen daily use. This is when you inspect every silicone and grout joint with your hands, not just your eyes.
- Caulk around the tub and shower: press a fingernail gently into the bead. If it peels away from tile or tub, or you see a dark line behind it, cut it out and redo it with a 100% silicone bathroom-rated caulk. Not painter’s caulk. Not a silicone-acrylic blend.
- Under-sink connections: repeat the day-30 check. Most slow leaks progress here if a fitting was never fully snugged.
- Shower door and glass seals: check the sweep at the bottom of a frameless door and the silicone where the hinge meets glass. Water tracking under a failed sweep rots the curb from the inside.
- Grout at the shower floor: run a dry fingertip along the perimeter. Crumbling or powdery grout at 90 days signals a moisture problem, not just age.
- Fan performance: repeat the tissue test. If airflow has dropped, the grille is likely loaded with dust already.
In North Las Vegas, homes in the older neighborhoods around Downtown and the Aliante area often sit on plumbing that was updated decades ago, and a remodel can expose fittings that don’t like being disturbed. The 90-day pass is where those show up. If anything on this list looks wrong and the work is still inside the 365-Day Done Right Promise, that’s exactly what the guarantee covers. Call it in.
When and How to Reseal Grout
Sealing grout isn’t a once-and-done job, and the product matters as much as the timing. Most cement-based grout in a shower should be sealed every 6 to 12 months depending on use and water hardness. Floor grout outside the shower is more forgiving: every 12 to 18 months is fine in a low-traffic bathroom, and every 12 months in a busy family bathroom.
The difference between wall and floor grout needs is real. Wall grout in a shower sees constant splashing and needs sealing on the faster end of the schedule. Floor grout outside the wet zone mostly deals with mopping and foot traffic, so it holds a seal longer. Epoxy grout is the exception: it doesn’t need sealing at all and generally outlasts cement grout by years. If you chose epoxy during your remodel, skip the seal step and just clean it.
Here’s what sealing actually requires, because “just seal the grout” is one of those instructions that gets repeated without the details:
- Clean the grout thoroughly with a pH-neutral cleaner and a soft brush, then let it dry at least 24 hours. Sealing over damp grout traps moisture.
- Test for existing sealer by dripping water on the grout: if it beads, you’re still sealed. If it soaks in, reseal.
- Apply a penetrating sealer with a small foam brush along the grout lines, one section at a time. Wipe excess off tile within 10 minutes; dried sealer haze is a pain to remove.
- Stay off the floor for the manufacturer’s cure window, usually 24 hours, and keep the shower dry for at least 12.
If you’re planning a North Las Vegas bathroom remodel and haven’t picked materials yet, ask about epoxy or a high-quality sealed grout during design. It’s the kind of quiet upgrade that saves you real maintenance time down the road. Our Bathroom Remodeling in North Las Vegas team can walk you through the options, including surfaces from Cambria and Silestone.
Managing Hard Water in North Las Vegas
North Las Vegas water is hard. Really hard. The mineral content leaves calcium and magnesium deposits on shower glass, faucets, and tile faster than most homeowners expect, and the wrong cleaning product can permanently etch a polished fixture or a glass panel. Managing buildup is a maintenance task, not a cleaning chore.
What works and what doesn’t:
- Do: squeegee shower glass after every use. It takes 15 seconds and prevents 90% of the mineral film that builds over a week.
- Do: use a 1:1 white vinegar and water spray on glass and tile weekly, then rinse. Vinegar dissolves calcium safely.
- Don’t: use vinegar on natural stone like marble or travertine. It eats the finish. Use a pH-neutral stone cleaner instead.
- Don’t: scrub matte-black or brushed-brass fixtures with abrasive pads. It removes the finish and leaves a scratch pattern no polish can fix.
- Do: dry Kohler and Moen fixtures with a microfiber cloth after use; those finishes are durable but not mineral-proof.
A whole-home water softener is the long-term solve, and it’s worth considering if you’re planning a kitchen or bathroom remodel in a newer North Las Vegas neighborhood where the supply runs hard straight from the tap. Until then, treat the weekly vinegar wipe as part of your routine, not an emergency response.
Exhaust Fan Maintenance You’re Probably Skipping
The bathroom exhaust fan is the most ignored piece of equipment in the house, and in North Las Vegas a clogged fan causes damage faster than almost anywhere else. Why? Vegas air is dry, so paint and grout can look fine while interior moisture quietly builds. The fan is what carries that moisture out. When airflow drops, condensation sits on ceilings and grout, and paint starts peeling from the inside.
Maintenance is simple if you actually do it:
- Monthly: vacuum the grille with a brush attachment. Lint and dust load the slots and cut airflow before the motor ever struggles.
- Every 3 months: remove the grille (usually a twist or a spring clip) and wash it in warm soapy water.
- Every 6 months: with the power off at the breaker, clean the fan blades with a damp cloth. Dust caked on blades throws the motor off balance and shortens its life.
- Annually: check that the duct from the fan exits the roof or wall, not into the attic. Venting into attic space dumps moisture where it does the most harm.
Run the fan during every shower and for 15 to 20 minutes afterward. That post-shower time is the step most people skip, and it’s the step that actually clears the residual moisture. A fan that’s failing the tissue test at 90 days isn’t a small thing; it’s the early warning that your paint and grout will suffer by year two.
Documenting Condition Annually
Here’s the part almost no homeowner does, and it’s the one that matters most if a warranty claim ever comes up: photograph the room on a fixed schedule so you have a documented baseline. When something fails at month 14 or month 30, you need to show the condition at day 1, day 90, and day 365. Without those photos, a warranty discussion becomes a memory contest.
Set up a simple system:
- Dates: photograph at 30, 90, 180, and 365 days, then annually on the remodel anniversary.
- Angles: same wide shot of each wall, same close-up of each caulk joint, under-sink, fan grille, and shower floor.
- Storage: keep the photos in a dated cloud folder so they don’t get lost when you switch phones.
- Notes: a short text file with what you found at each check, and what you fixed. That log is worth more than a receipt if a repair ever becomes a claim.
This is the kind of record The Relay Standard expects on our side too: before-and-after photo updates and a digital invoice you pay from a link. Your own log is the mirror image.
The Month-by-Month Checklist for Year One
This is the whole schedule in one place. Save it.
- Month 1: cycle every faucet hot and cold, dry-check under sinks, test toilet seal, tissue-test the exhaust fan, photograph everything.
- Month 2: vacuum fan grille, squeegee shower glass daily, first full caulk joint inspection.
- Month 3 (the critical one): full caulk inspection by hand, second under-sink check, glass sweep and hinge seal check, dry-finger grout check at the shower floor, tissue-test the fan again.
- Month 6: clean fan blades and grille, re-test grout for sealer beading, photograph again, touch up any caulk that failed the fingernail test.
- Months 7 to 9: reseal shower wall and floor grout if it’s cement-based (skip if epoxy), deep-clean fixtures with a pH-neutral or vinegar solution depending on surface type.
- Month 12: full annual review, re-check every caulk joint, re-test grout, clean fan blades, confirm duct still vents outdoors, photograph the year-one baseline.
That’s roughly two hours of work across the entire first year. Compare that to the cost of a water-damaged wall cavity, which in North Las Vegas routinely runs into the thousands once you open it up. The schedule is a rounding error next to the repair.
Common Mistakes to Avoid
- Skipping the 90-day caulk inspection. By month 12 the gap is real, and the damage behind it is already done.
- Sealing grout that hasn’t fully dried. Sealing over damp grout locks moisture in and leads to staining and, eventually, crumbling. Wait the full 24 hours after cleaning.
- Using abrasive cleaners on polished fixtures. North Las Vegas hard water tempts you to scrub hard, but a green Scotch-Brite pad will permanently dull polished chrome and brushed finishes.
- Never cleaning the exhaust fan. A clogged fan in a Vegas bathroom strips paint from the ceiling and cracks grout long before a homeowner connects the dots.
- Closing up the room after a leak without documenting it. If you fix a small under-sink weep, photograph the fix. When a warranty question surfaces later, the log settles it.
- Waiting a year to raise new-install issues. Day 30 and day 90 are when the contractor’s responsibility is clearest. Use them.
See the difference
 Before
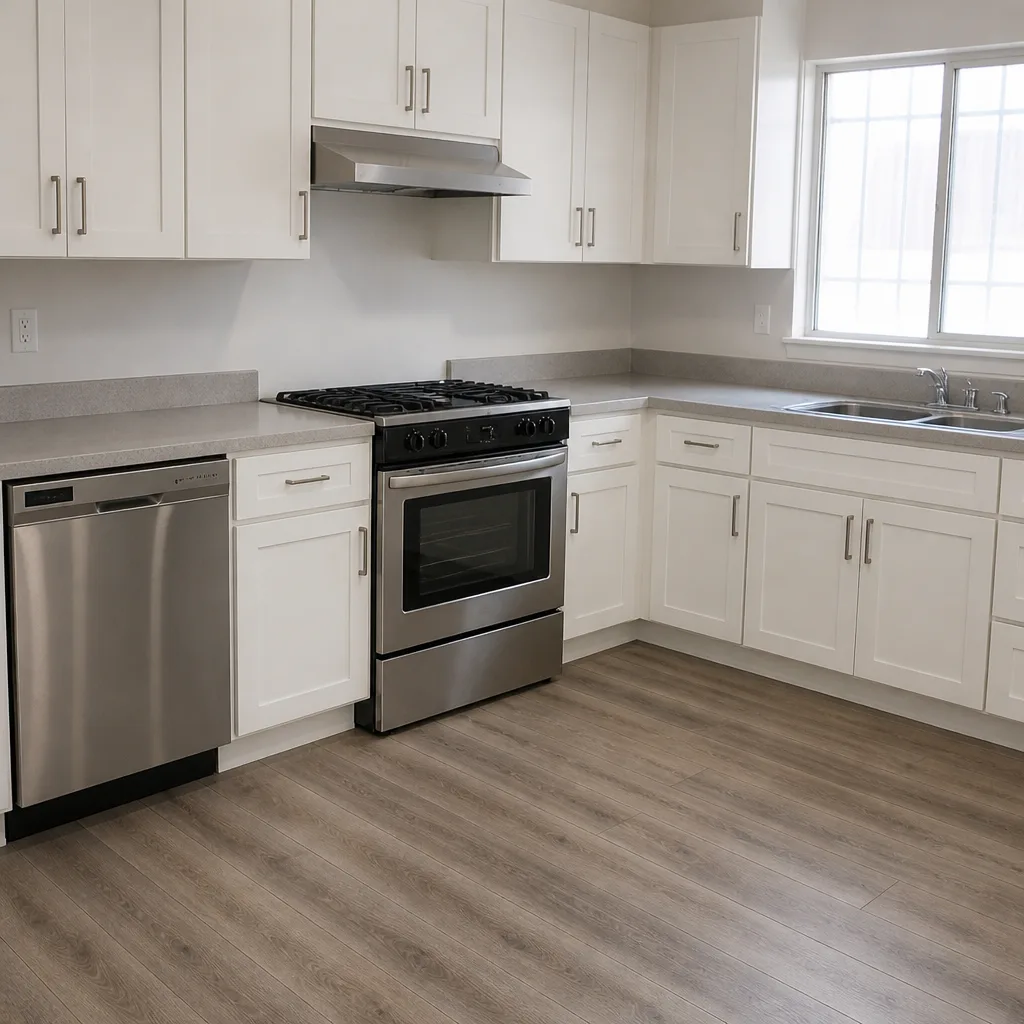 After
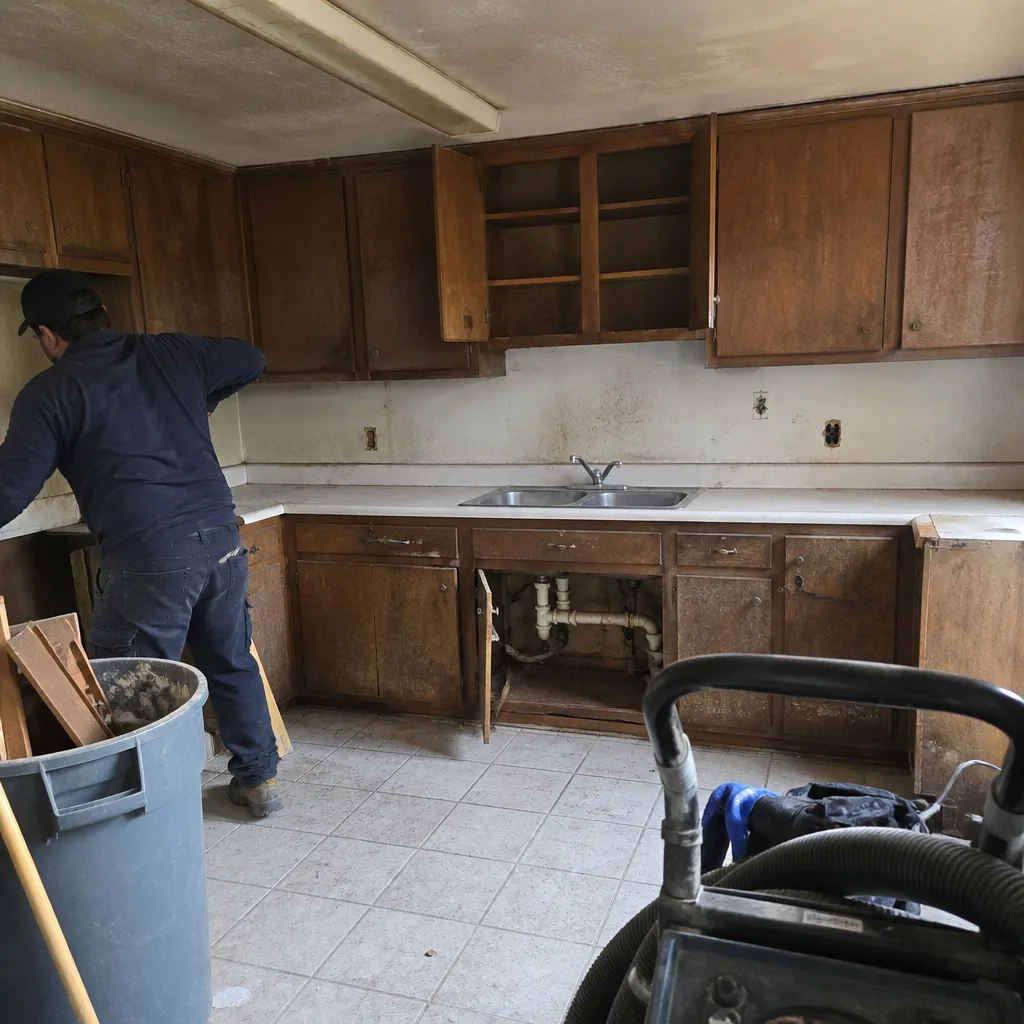 Before
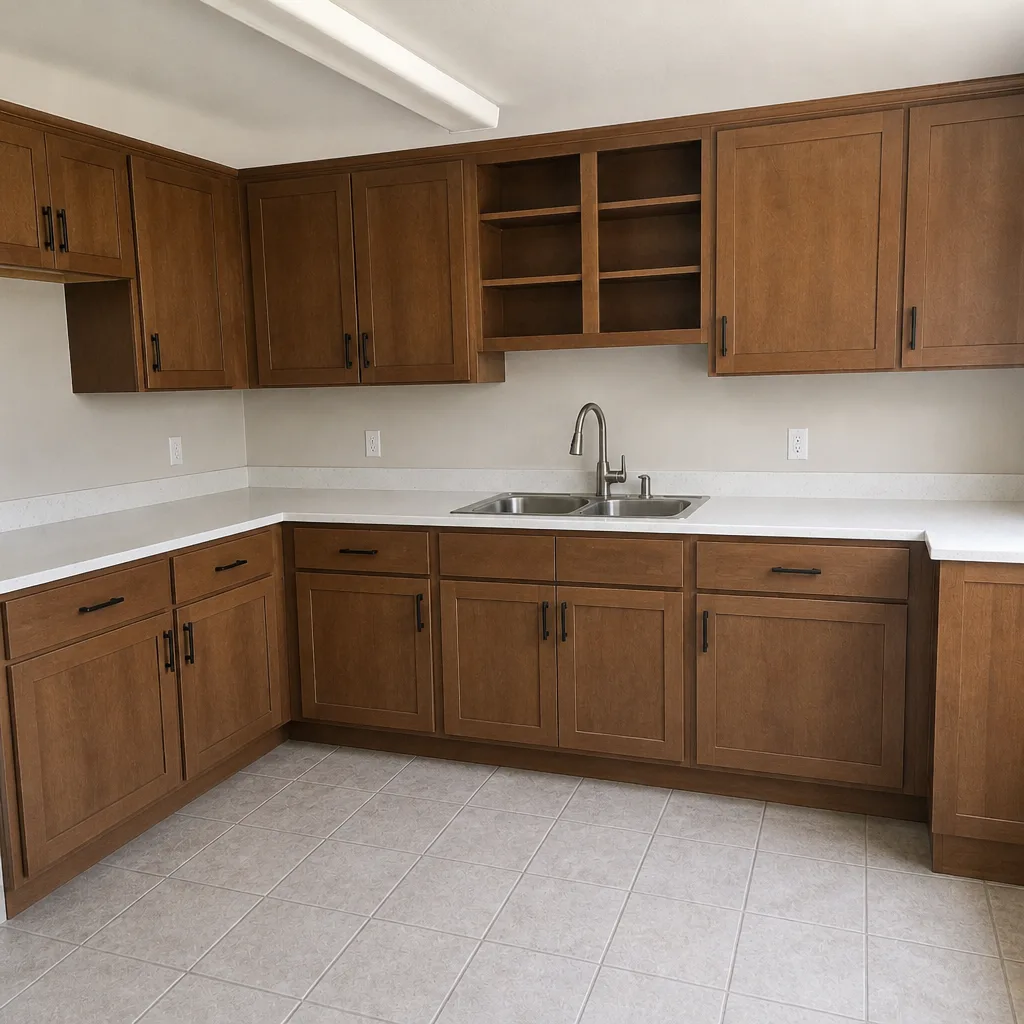 After
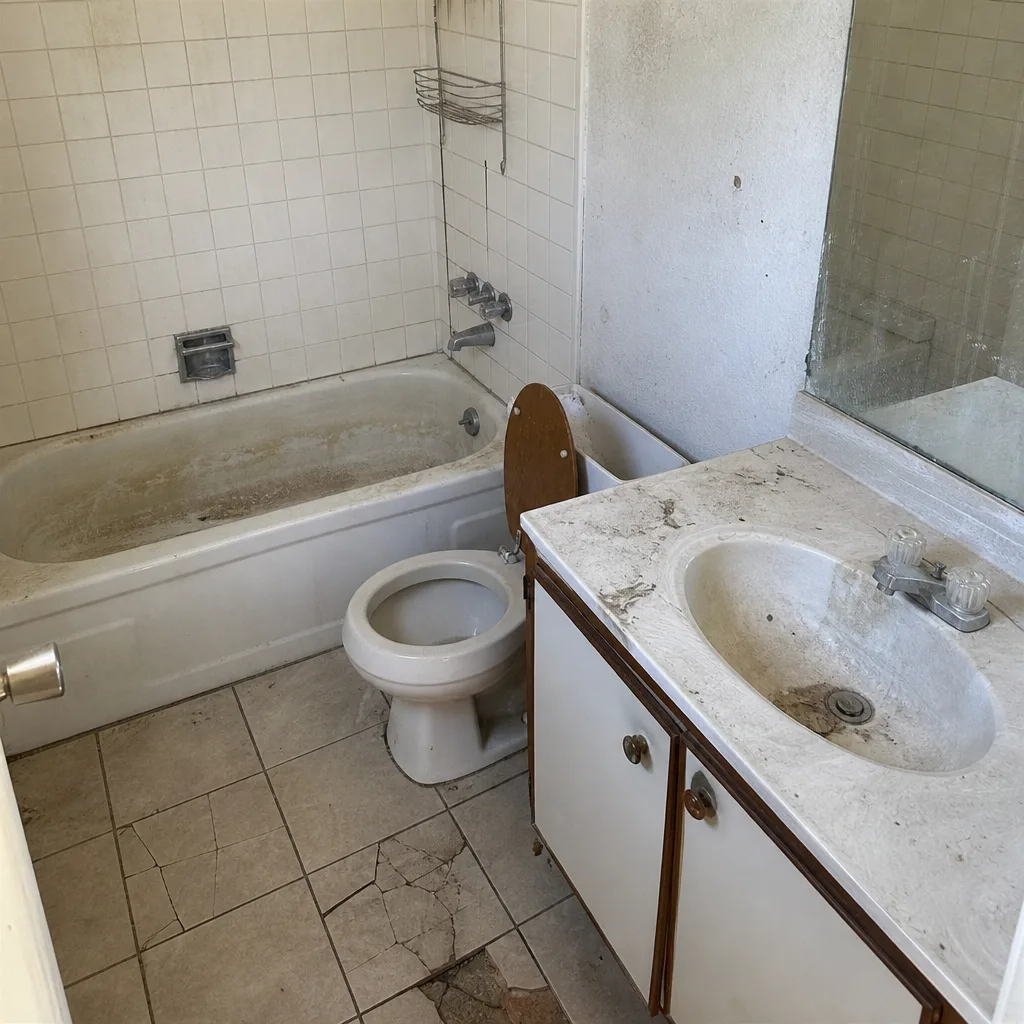 Before
 After
When to Call a Professional
Some things are yours to handle: cauking, cleaning the fan, resealing grout, and running your annual photo log. Others shouldn’t be DIY. Call in a professional if you see a soft or spongy spot at the toilet flange, if grout at the shower floor keeps crumbling after resealing, if the exhaust fan won’t move enough air to hold a tissue, or if you find water stains on a ceiling below the bathroom. Those are signs that water is moving where it shouldn’t, and opening the wall to find out why is worth doing right the first time.
Sawyer Remodel North Las Vegas offers free estimates in North Las Vegas – call (844) 834-9656. Our technicians have up to 21 years of experience. If your issue traces back to the original install and you’re still within the 365-Day Done Right Promise, we make it right, backed in writing.
Frequently Asked Questions
Inspect caulk at 30 days, then again at 90 days, because the first three months are when most caulk failures actually begin. By the one-year mark, a gap that started at 90 days has had months to let water into the wall cavity. Call (844) 834-9656 for an exact quote on a repair if you find separation – estimates are free.
Reseal shower wall and floor grout every 6 to 12 months and floor grout outside the shower every 12 to 18 months, unless you chose epoxy grout, which doesn’t need sealing at all. North Las Vegas’s hard water and dry air speed up both the wear on the sealer and the mineral staining on your tile. Call (844) 834-9656 if the grout keeps crumbling after resealing – that’s a moisture problem, not an aging one.
A clogged exhaust fan causes paint and grout damage faster in North Las Vegas because the dry climate hides moisture buildup until the damage shows on the ceiling as peeling paint. Clean the grille monthly and the blades every six months, and confirm the duct vents outdoors, not into the attic.
Use a 1:1 white vinegar and water spray on glass and ceramic weekly, but keep vinegar off natural stone like marble and off polished or brass fixtures, where it can etch the finish. For Kohler and Moen fixtures, a microfiber dry-down after each use prevents most of the buildup in the first place. Call (844) 834-9656 if hard water has already etched a surface – estimates for replacement are free.
Wall grout in a shower needs sealing sooner because it gets constant splash exposure; floor grout outside the wet zone deals mostly with mopping and holds a seal longer. Test both at the 6-month mark by dripping water on the grout: beading means sealed, soaking in means reseal.
No. With no-hassle upfront pricing, you get a written price before any work starts, so the number on the invoice is the number you approved. If a repair turns out to be covered by the 365-Day Done Right Promise, it’s handled at no charge. Call (844) 834-9656 for a free estimate in North Las Vegas.
The Bottom Line

A remodeled bathroom is maintenance-delayed, not maintenance-free. The 90-day check is the single most important date on the calendar, followed closely by the 6-to-9-month grout reseal and the 12-month review. In North Las Vegas, hard water and dry air make the fan and the caulk lines do more work than they do elsewhere, so those get extra attention. Two hours of scheduled upkeep in year one is cheap insurance against water damage that runs into the thousands. Keep the photo log, follow the checklist, and if something looks wrong inside the promise window, call it in.
If you’re at the front end of a project rather than maintaining one, start with our Sawyer Remodel North Las Vegas home page, meet the General Contractor in North Las Vegas team behind the work, and see how Kitchen Remodeling in North Las Vegas fits the same standards.
Written by the team at Sawyer Remodel North Las Vegas. Call (844) 834-9656 for a free estimate – the written price lands before any work starts.