Last updated November 18, 2026








Free written scope consultation - allowances, timeline, and change-order rules on paper before a single trade is scheduled
General Contractor Maintenance Schedule: What to Do and When
The average homeowner spends $950 fixing remodel-related issues within 18 months of project completion. Almost all of it is preventable with a simple seasonal checklist. That’s the part nobody hands you at the final walkthrough: a finished remodel isn’t a finished house. It’s a new set of materials that need watching, and the first three years decide whether your investment holds its value or quietly degrades behind the walls. This guide lays out exactly what to check, when to check it, and which tasks are safe to handle yourself versus which ones need a licensed pro. If you’re in North Las Vegas, where the desert climate works against every seal and joint, this schedule matters even more.
Quick Answer
After a remodel, focus your maintenance on a tiered schedule: month one for warranty-window walkthrough items, every six months for caulk, grout, and weather stripping, and annually for anything touching water, HVAC, or the building envelope. In North Las Vegas’s hard water and 40-degree temperature swings, seals and caulk fail roughly twice as fast as in mild climates, so budget two touch-up weekends a year rather than one. Log every inspection with photos and dates so you have documentation if a warranty claim or home sale dispute ever comes up.
Styles & brands we work with
- Kitchen remodeling
- Bathroom remodeling
- Home additions & ADU
- Roofing
- Windows & doors
- Driveway & pavers
- Fence
Table of Contents
- Month One: The Warranty-Window Walkthrough
- Why North Las Vegas Climate Sets Your Maintenance Calendar
- The Six-Month Check: Caulk, Grout, and Weather Stripping
- The Annual Deep Check: Water, HVAC, and Envelope
- DIY-Safe Tasks vs. Warranty-Voiding Tasks
- How to Log Maintenance for Warranty and Sale Protection
- What Contractors Rarely Flag That Fails First
- Year Three to Year Five: The Bigger-Ticket Horizon
Month One: The Warranty-Window Walkthrough
The first 30 days after a remodel is the highest-stakes maintenance window you’ll ever have. It’s also the one almost every homeowner sleeps through. Small issues that appear in month one, like a hairline crack at a tile edge or a door that won’t latch, are usually early symptoms of movement or settling. Catch them while the contractor’s warranty window is open and they’re a quick fix. Miss them and they become your invoice.
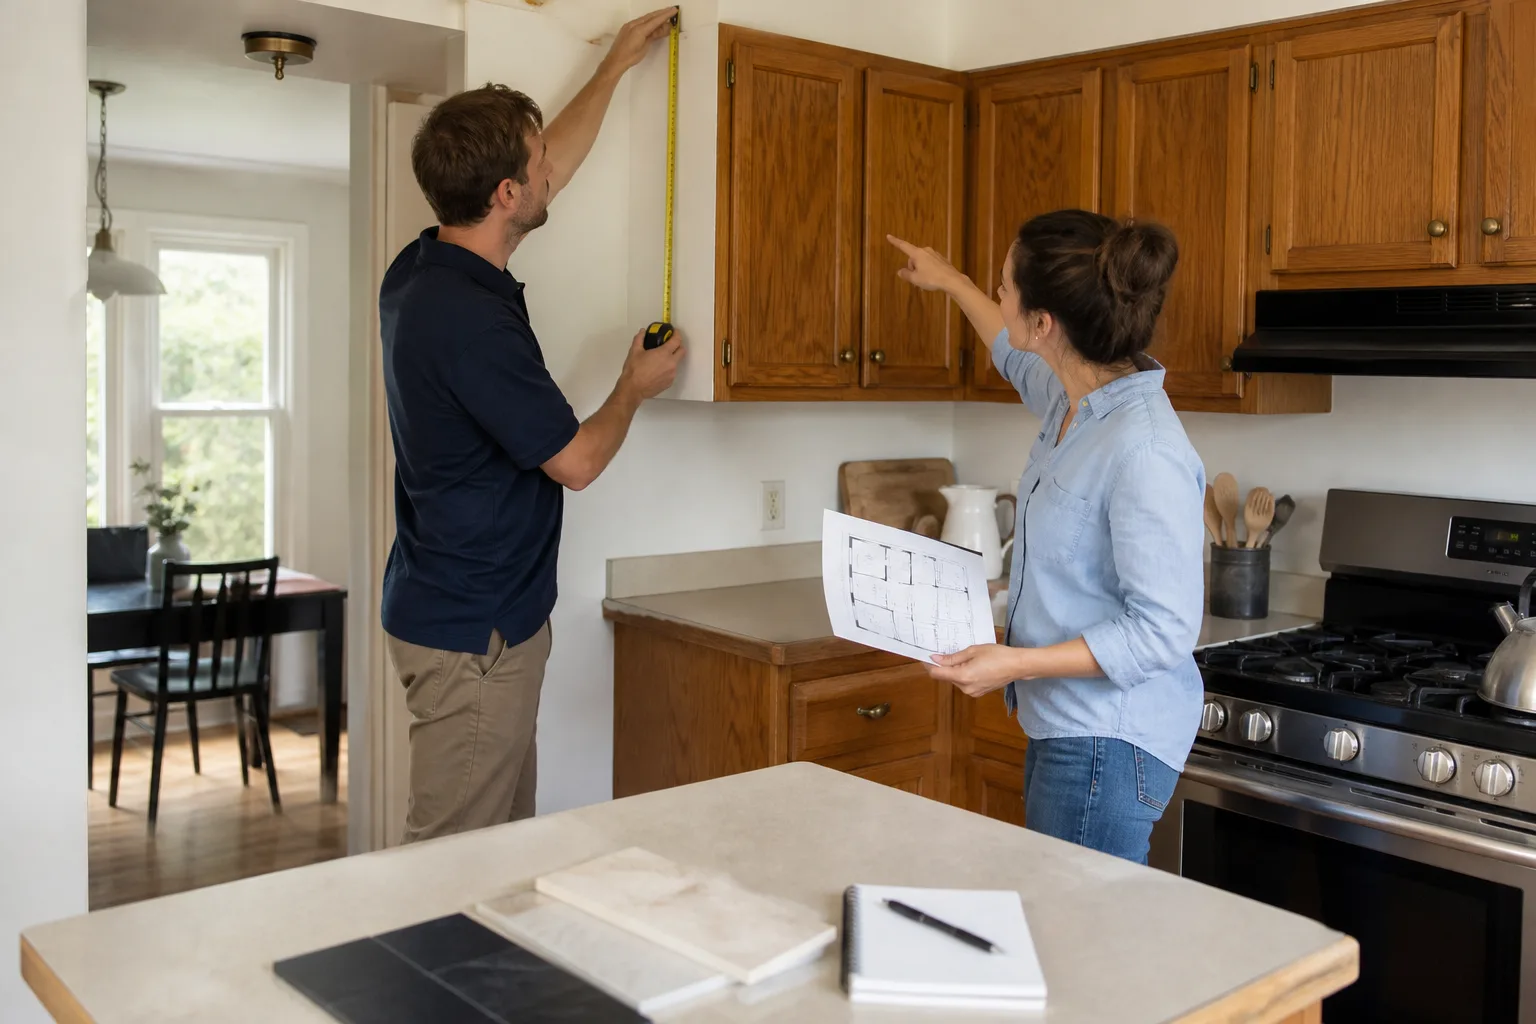
Walk the whole project with a notebook and a phone camera. Here is the sequence we recommend:
- Open and close every door and window at least twice. Note any sticking, sagging, or gaps at the corners. This is your baseline.
- Run every fixture and appliance. Faucets, drains, dishwasher, disposal, shower valves, exhaust fans. Look under sinks with a flashlight for moisture.
- Check every caulk and grout line in wet areas. Photograph them close-up. Any separation is worth flagging now, not in six months.
- Test every outlet and switch and note which breaker controls what. Photograph the panel with the labels.
- Inspect the tile-to-floor transition and any Schluter edge trim (the metal strip that waterproofs where your tile meets the floor). Look for lifting or gaps.
- Look at ceilings and walls below any plumbing you added. Any staining in month one is a leak, not a stain.
- Confirm the punch list in writing with dates and photos. A text or email thread with your contractor is better than a phone call you can’t prove later.
At Sawyer Remodel North Las Vegas, this is exactly why we send before-and-after photo updates through every phase of a project: the documentation trail should already exist by the time you do the month-one walk. If you’re renovating a bathroom, the month-one check is even more important because every fixture is wet. See our Bathroom Remodeling in North Las Vegas page for the specific inspection points we flag on a new bathroom.
Why North Las Vegas Climate Sets Your Maintenance Calendar
A maintenance schedule you copy from a national magazine will fail here. North Las Vegas runs some of the hardest water in the country (mineral content that fogs shower glass in weeks) and temperature swings that push a summer afternoon past 110°F before dropping 40 degrees overnight in the winter. That combination attacks the joints in your home. Caulk shrinks and cracks. Grout hairline-fractures. Weather stripping loses its memory. HVAC penetrations in exterior walls open up as materials expand and contract at different rates.
What that means for your calendar:
- Caulk in wet areas needs re-inspection every six months here, not the annual schedule you’ll read elsewhere. Kitchen backsplashes, tub surrounds, and shower corners are the first to go.
- Grout sealing should happen annually in North Las Vegas versus every two years in milder climates. Hard water eats sealers faster.
- Weather stripping on exterior doors and garage doors wears out roughly 30% faster here because of the UV load. If you’ve added a garage door or rebuilt an entry, check the seals each fall.
- Exterior caulk lines around windows, doors, and where the siding meets the foundation need an annual once-over. James Hardie siding itself holds up beautifully, but the joints around it need attention.
- HVAC penetrations where ductwork passes through exterior walls should be checked every spring and fall. Any gap here means cool air leaking out and dust and heat leaking in.
If you’re planning a larger renovation and want to build maintenance in from the start, talk to us through our General Contractor in North Las Vegas page. We’ll flag the parts of your build that will need the most attention later.
The Six-Month Check: Caulk, Grout, and Weather Stripping
The six-month check is the single most valuable maintenance habit you can build. It takes about 90 minutes and covers the parts of a remodel that fail quietly. Here’s the sequence:
- Caulk first. Walk every wet area with a tube of silicone caulk and a wet finger. Press along every joint. Any caulk that flexes, crumbles, or has pulled away gets cut out and replaced. Don’t caulk over old caulk.
- Grout second. Look for hairline cracks and dark spots. Dark spots often mean moisture is getting behind the tile. That’s a call-a-pro situation, not a DIY fix.
- Weather stripping third. Run a dollar bill around every exterior door. If it slides through easily, the seal is done. Replace the strip.
- Check the Schluter edge trim at the tile-to-floor transition in any bathroom or kitchen. It should be tight against the floor. Any lift is a waterproofing concern, not cosmetic.
- Snap a photo of every item you touch. Same angles, every six months. This is your baseline for year-over-year comparison.
If you’re in a newer North Las Vegas neighborhood where the ground is still settling, expect to do this check more often in the first two years. Expansion gaps at baseboards and trim will open as the structure settles; they’re supposed to. Baseboards are meant to float slightly against the wall so they don’t crack the drywall above. If you see gaps that look larger than a quarter inch, that’s worth a call.
The Annual Deep Check: Water, HVAC, and Envelope
Once a year, spend a half day on the items that protect the bones of your home. Do this in early spring before the first big heat and again lightly in the fall. Items:
- Water heater and connections. Look for corrosion on the fittings, listen for rumbling (sediment), and check the drain pan for moisture. North Las Vegas hard water shortens heater life. Plan on flushing annually.
- Under-sink and behind-appliance checks. Pull out the washer and dryer, pull out the fridge, look behind the dishwasher. Water damage you can’t see is the most expensive kind.
- HVAC filter and condensate line. Change the filter, and pour a cup of white vinegar down the condensate drain to keep it clear. If your remodel added a mini-split or new air handling, check the line where it leaves the wall.
- Roof and flashing check. With binoculars from the ground, look at the flashing around any new penetrations from your remodel. If you had a roof replaced in GAF, CertainTeed, or Owens Corning materials, keep the manufacturer warranty paperwork in the same file.
- Attic and crawl space look. Water stains on the underside of the roof deck, daylight coming through where it shouldn’t, or sagging insulation batts are all signals to call someone.
- Exterior perimeter walk. Look for cracks at window corners, gaps around the foundation line, and any new staining on the James Hardie siding joints.
- Smoke and carbon monoxide detectors. Test them and change the batteries. This isn’t optional maintenance; it’s life safety.
If anything on that list turns up a real problem, our Sawyer Remodel North Las Vegas home page will point you to the right team to call.
DIY-Safe Tasks vs. Warranty-Voiding Tasks
We get asked this constantly. What can you do yourself without hurting your warranty or your wall? Here’s the honest split:
DIY-safe (do these yourself)
- Caulking wet areas. It’s the most DIY-friendly maintenance item on the list.
- Replacing weather stripping.
- Repainting touch-ups on interior walls (keep the manufacturer paint code).
- Changing HVAC filters.
- Testing smoke and CO detectors.
- Tightening cabinet hardware.
- Snaking a slow drain with a hand auger (not chemical drain cleaner, which can damage pipes).
Warranty-voiding (call a pro)
- Cutting into tile, drywall, or trim to “check for a leak.” This voids a waterproofing warranty instantly, and it’s usually unnecessary.
- Replacing a shower valve cartridge yourself if the fixture is still under manufacturer warranty (Kohler, Moen, Grohe). Improper install voids the cartridge warranty.
- Working on electrical. Any new circuit, outlet, or switch tied to your remodel needs a licensed electrician and, in North Las Vegas, properly pulled permits.
- Cutting into a shower pan to “see what’s under there.” A shower pan membrane is a single continuous layer; opening it means replacing it.
- Adjusting or repairing a tankless water heater. Gas-line work is not a homeowner task.
- Removing and reinstalling GAF or CertainTeed roof shingles yourself. The warranty is void without a licensed installer.
If a warranty issue appears, the 365-Day Done Right Promise at Sawyer Remodel North Las Vegas puts responsibility on the company to make it right, backed in writing, for a full year after the project closes. But that promise is only good if you haven’t cut into the work yourself. When in doubt, call first.
How to Log Maintenance for Warranty and Sale Protection
The single best habit you can build: a maintenance log with dated photos. It sounds boring. It’s also the thing that wins a warranty dispute or a home inspection five years later. Here’s the system:
- Create one folder on your phone or cloud drive, labeled with the project (e.g., “Primary Bath Remodel – 2026”).
- Photograph every maintenance inspection from the same angles. Same camera, same positions, same lighting where possible.
- Add a short text note to each photo with what you did: “Replaced caulk at shower corners.” “Checked under sink, dry.”
- Save every receipt and warranty card in the same folder. Manufacturer warranties from Cambria, Kohler, James Hardie, and GAF all require documented install information if you ever need to file a claim.
- Do a year-end summary in a single document. One page is enough. It becomes your proof of care when you sell.
If you’ve had a kitchen remodel, the log matters doubly because appliances have their own warranty timelines. Our Kitchen Remodeling in North Las Vegas page lists the appliances and surfaces we install most and the specific manufacturer documentation to keep.
What Contractors Rarely Flag That Fails First
In our experience, the items that fail first after a remodel are almost never the ones on the ticket. They’re the ones nobody talked about. Watch these:
- Expansion gaps at baseboards and trim. Baseboards are supposed to sit slightly shy of the wall so seasonal movement doesn’t crack the drywall. If a contractor shoved them tight, expect cracks in 18 to 24 months. A small gap is correct. A big crack is a problem.
- Waterproofing membranes in showers. The Schluter system (or any membrane) is invisible once tile goes on. The only way to know it’s intact is to watch for the warning signs: grout staining, a soft spot in the floor, mold at the perimeter. Any of those and it’s a call-a-pro moment.
- Weather stripping on new exterior doors. The bigger and heavier the door, the faster the seal dies. On an entry door in North Las Vegas, expect 18 to 24 months before you need to replace the strip.
- Deck post bases and patio pavers. If your remodel added outdoor pavers like Techo-Bloc or Cambridge Pavers, or a new deck footing with Quikrete, check the base plates every spring. Desert soil shifts. Movement at the base is the first warning.
- Bathroom exhaust fan outlets. If your fan was replaced to pull more cubic feet per minute (CFM), check that the exterior vent flap actually opens when the fan runs. A stuck flap means humidity stays in the wall cavity.
- Under-cabinet electrical outlets. The GFCI outlet behind a kitchen backsplash in a well-built kitchen can fail silently. Test and reset quarterly.
These are the items we flag at handoff. If you want that level of handoff on your own project, reach out through our Bathroom Remodeling in North Las Vegas page or the General Contractor in North Las Vegas page, and we’ll walk you through the maintenance handoff as part of the project.
Year Three to Year Five: The Bigger-Ticket Horizon
By year three, some maintenance items shift from “check” to “replace.” None of it is a remodel failure; it’s just the lifecycle of materials in a desert climate.
- Caulk replacement. Plan on a full recaulk of wet areas, entry surrounds, and window exteriors at year three in North Las Vegas. Cut it out and start fresh. Recaulking over old caulk is one of the most common reasons for a redo.
- Grout deep cleaning and resealing. By year three, both are due. In homes with hard water, expect both again in year five.
- Water heater inspection or replacement. Tank models in North Las Vegas typically give you 8 to 12 years, but hard water can shorten that. Get a professional flush at year three.
- Door and window seals on exterior doors. Replace the full seal kit at year three on entry doors, not just the strip.
- Roof inspection from a pro. If your remodel included a roof replacement in GAF or CertainTeed materials, do a professional inspection at year five. Manufacturer warranties typically cover workmanship only if an inspectable record exists.
- HVAC system check. Full professional service at year five if you haven’t been doing annuals.
Common Mistakes to Avoid
- Waiting for something to break. Preventative checks cost time. Reactive repairs in North Las Vegas cost three to five times as much because water damage compounds behind walls. Neither is cheap; one is much cheaper.
- Caulking over failing caulk. New caulk won’t stick to old caulk. It peels in a month. Cut it out completely, clean thoroughly, dry fully, then apply new.
- Skipping the maintenance log. Home inspectors and warranty departments both want documentation. Without a log, a valid claim can turn into a he-said-she-said with the previous contractor.
- Using chemical drain cleaner on any plumbing installed in a remodel. It corrodes PEX, copper, and rubber gaskets. Use a hand auger or call a pro.
- Cutting into a shower pan to “check” for a leak. The waterproofing membrane is a single layer. Opening it means replacing it. Call a pro.
- Ignoring expansion gap changes. A quarter-inch gap is expected. A half-inch gap at a baseboard in year two means the structure is moving more than it should, and it’s worth a call.
- Trusting a verbal promise at handoff. If the contractor didn’t hand you a written warranty and a maintenance checklist, ask for one before they leave. The Relays Visibility Guarantee at Sawyer Remodel North Las Vegas is written for exactly this reason.
See the difference
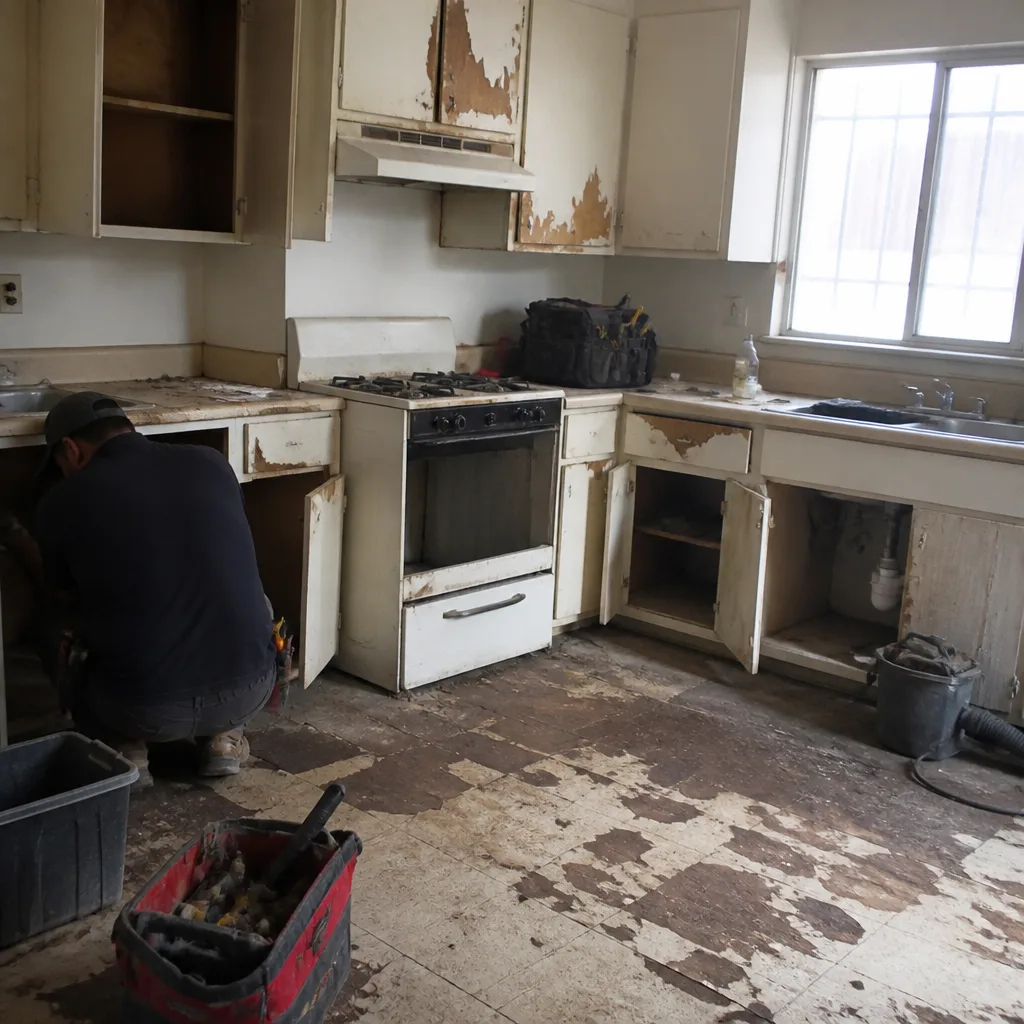 Before
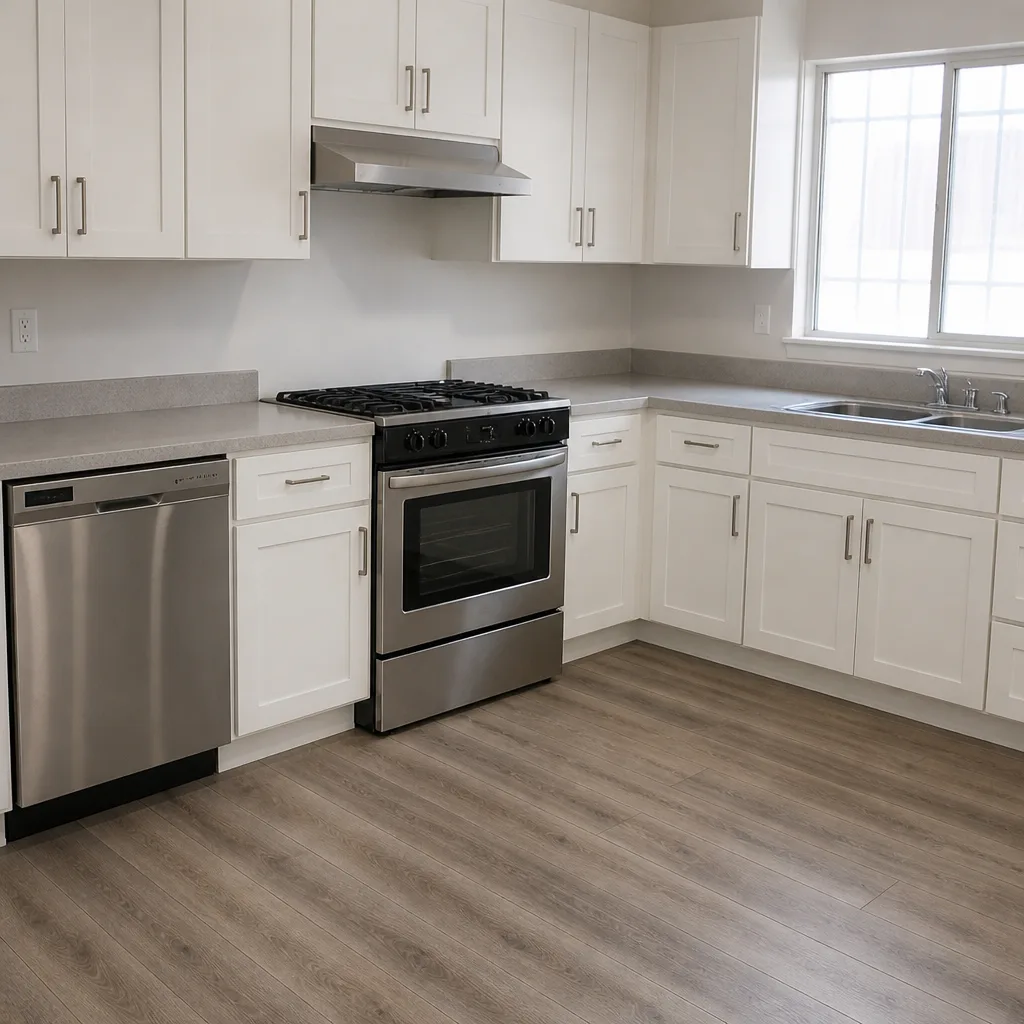 After
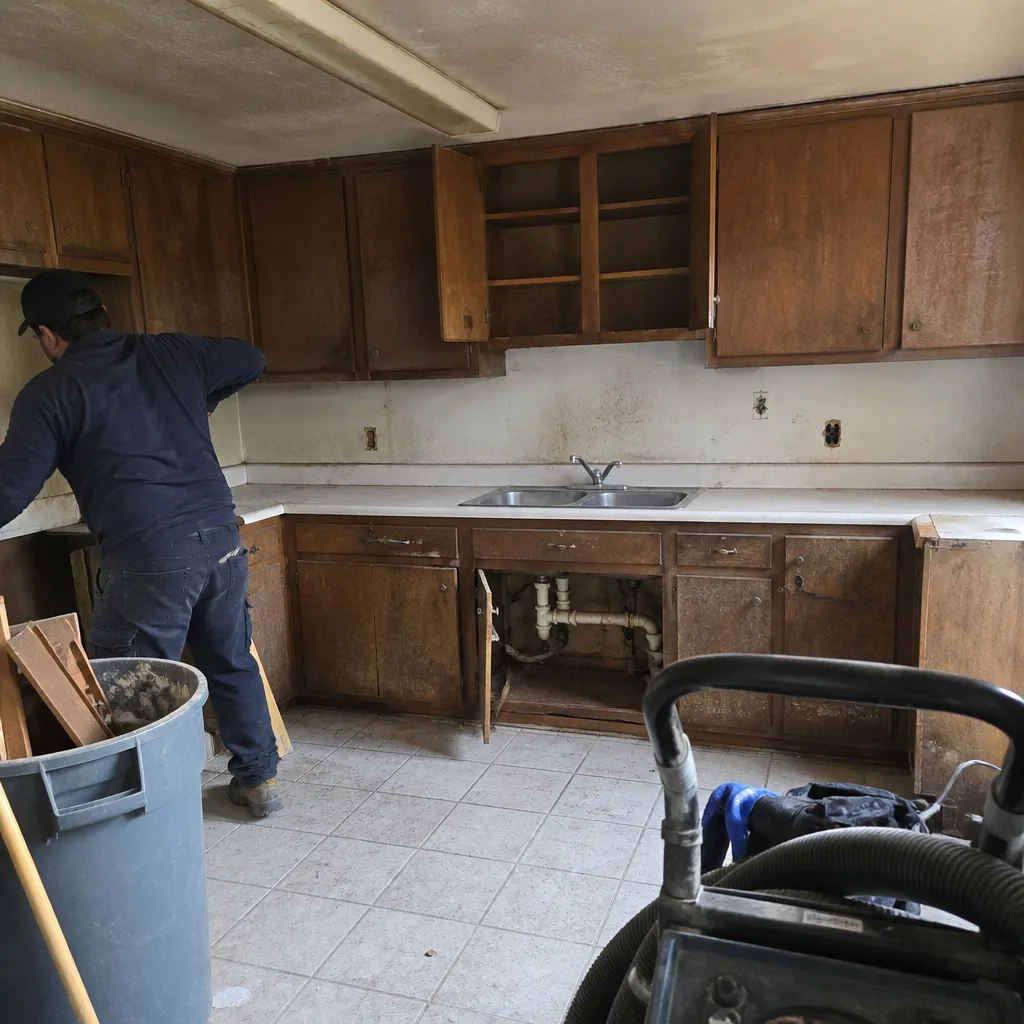 Before
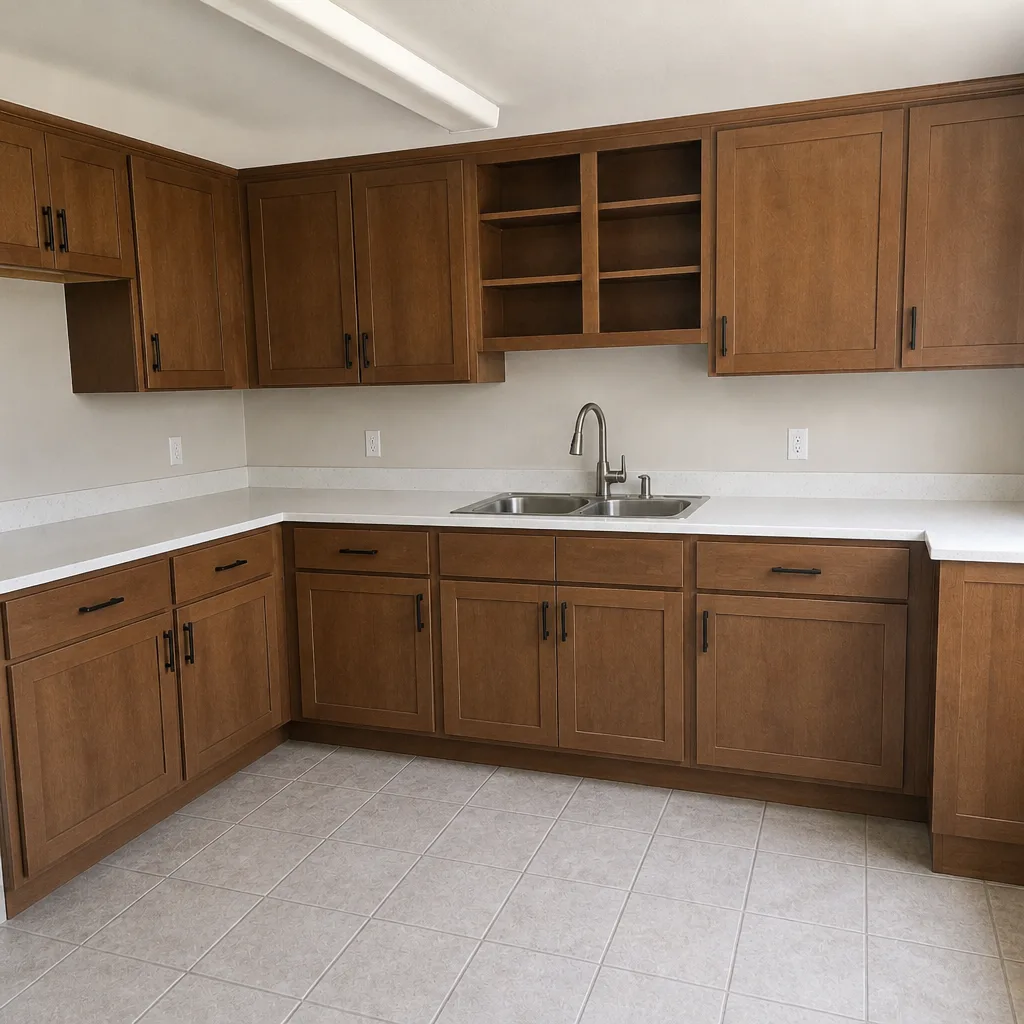 After
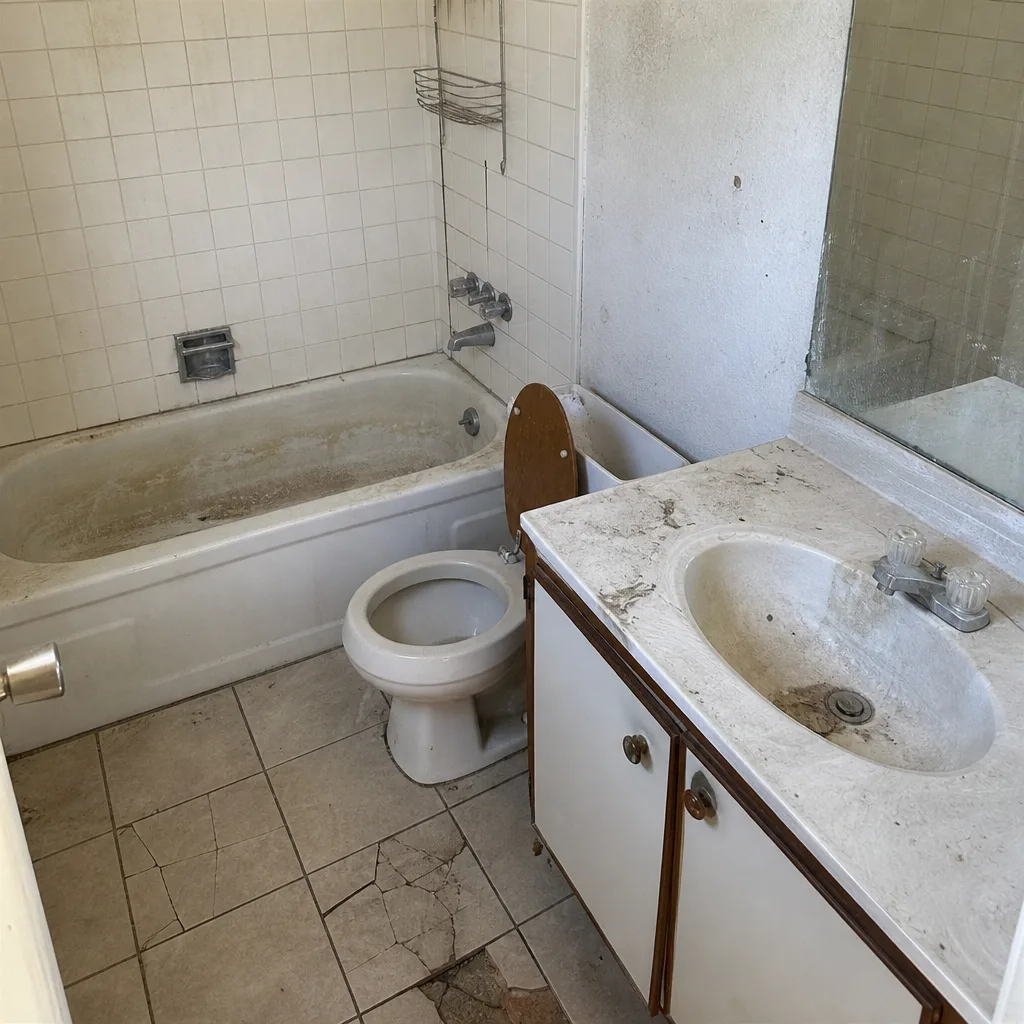 Before
 After
When to Call a Professional
Call a professional immediately if you spot any of the following: water staining on a ceiling or wall below a bathroom or kitchen; dark spots in grout that don’t clean up; a soft spot in a tile floor; a stuck exterior vent flap; a GFCI outlet that trips and won’t reset; a gas smell near any appliance; water pooling at the base of a shower; or a roof leak. Also call if you’re within a warranty window and anything on the punch list has failed: that’s what the warranty is for. Sawyer Remodel North Las Vegas offers free estimates in North Las Vegas; call (844) 834-9656 and we’ll get someone scheduled to look.
Frequently Asked Questions

Do a month-one walkthrough, a six-month caulk-and-seal check, and a full annual deep check. In North Las Vegas, add a second six-month check to account for the desert climate’s effect on caulk, grout, and weather stripping. That adds up to roughly four maintenance touchpoints a year.
Only if the DIY work touches the covered work itself. Caulking wet areas, replacing weather stripping, and changing HVAC filters won’t void a warranty. Cutting into drywall, tile, or a shower pan will. When in doubt, call the contractor and confirm in writing before you pick up a tool.
Small fixes like recaulking a bathroom or resealing grout typically run a few hundred dollars if done in year one. Mid-tier repairs like a shower pan leak or a cracked tile corner run higher. The $950 figure from the national average is a floor; in North Las Vegas hard water and temperature swings often push it higher. Call (844) 834-9656 for a free estimate if you want an exact number.
Yes, plan on annually. Hard water and high heat degrade grout sealers faster than in milder climates. Annual resealing is cheaper than tile replacement and keeps grout joints waterproof.
The most common failures we see are caulk separation at tub surrounds and kitchen backsplashes, grout hairlines that let moisture behind tile, weather stripping on exterior doors that has lost its seal within two years, and HVAC wall penetrations that open up as the structure settles. All four are cheap to fix in year one and expensive by year three.
Yes, meaningfully. A well-kept maintenance log with dated photos and receipts reassures inspectors and buyers and often prevents negotiation delays. It also documents manufacturer warranties from Cambria, Kohler, GAF, James Hardie, and other named brands, which stay valid only with proper records.
The Bottom Line
A remodel is an investment in maintenance, not just construction. Follow the tiered schedule here: month-one walkthrough, six-month caulk and seal check, annual deep check, and a bigger-ticket review in years three through five. In North Las Vegas, do the six-month check twice a year because of the climate. Log every inspection with dated photos, keep every receipt, and never cut into covered work yourself. That’s how the $950 average post-remodel repair bill gets cut down to near zero. If you’re planning a remodel and want the maintenance handoff done right, Sawyer Remodel North Las Vegas is available to help.
Ready to talk through a project or a maintenance plan? Call (844) 834-9656 for a free estimate. We’ll send a written price before any work starts, keep you informed with a live arrival time and photo updates, and back every job with the 365-Day Done Right Promise.
Written by the team at Sawyer Remodel North Las Vegas.